Drip. Drip. Drip.
It may be a small sound, but a leaky shower head can lead to big problems. Here, we’ll look at what may be causing your leaky shower head or faucet and how to decide if you can fix it yourself or if you need to call in a licensed plumber for help.
What Can Happen If You Don’t Fix A Leaky Showerhead?
Along with being downright annoying, a leaky shower head or faucet can lead to a variety of issues if it isn’t addressed promptly.
Possible complications from a leaky shower head or faucet include:
- Wasted water (and money!)
- Mould growth (check out our guide to preventing mould growth in your bathroom)
- Water damage to surrounding surfaces
- Water stains from the constant dripping
- Expensive structural repairs
Why Is My Shower Head Leaking?
Potential causes of a dripping shower head or faucet include:
- Deteriorated or worn out components (brittle plastic washers or rubber O-rings, etc.)
- Built-up mineral deposits and debris
- Corrosion
- Old fittings
- Incorrect installation
- Damaged inner seals
How to Fix a Leaky Shower Head or Shower Faucet
Depending on the cause, this common problem may be something you can fix yourself. When in doubt, feel free to reach out to our technicians to see if the problem requires a licensed plumber.
Here are the steps to fixing a leaky shower head or shower faucet.
Suggested tools and supplies for the project:
- Several old, large towels or rags
- Rubber O-ring or plastic washer
- Crescent wrench
- Vinegar
- Teflon tape
- Pliers
- Small pan or cooking pot
- Toothbrush
- Screwdriver
- Seat washer
- Caulk and caulking gun
- Faucet repair kit
- Packing washers
- New shower faucet
- Pipe wrench
- Keyhole saw
Steps for Fixing a Leaky Shower Head
1. Turn off the Water
First, you’ll want to shut off the water main to the entire house. Keep a towel nearby to wipe up any residual water that may exit the pipe and cover the drain to prevent any small parts from dropping into it as you work.
2. Remove the Shower Head
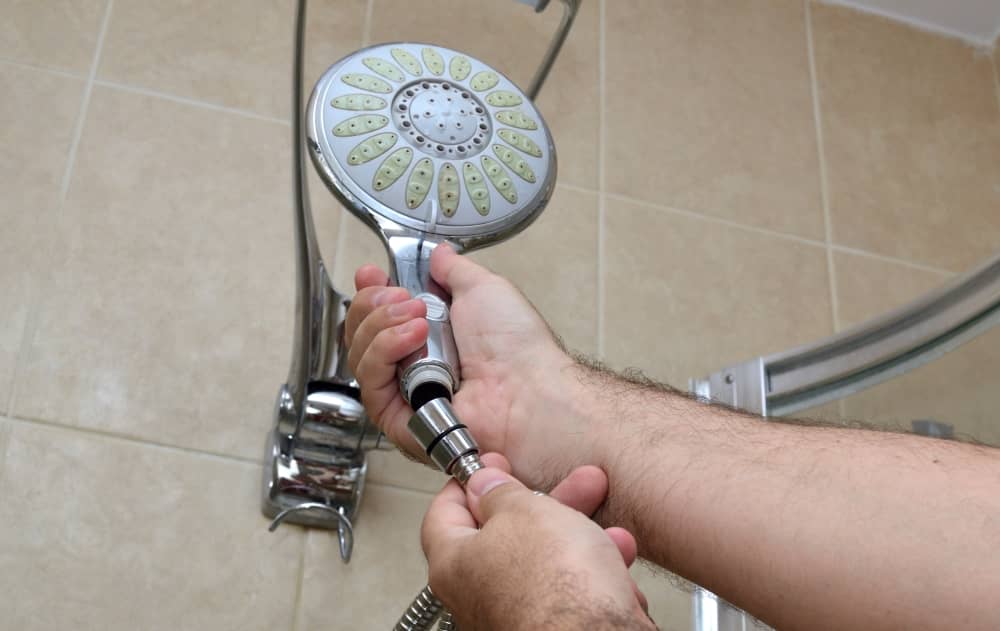
Next, unscrew the showerhead from the pipe. You can try doing this by hand, but a crescent wrench or pliers may be needed (never force anything).
Once you’ve removed the showerhead, inspect the threads for a rubber O-ring or plastic washer. Many times, normal usage eventually dries this component out, leading to dripping and leakage.
If it looks damaged, brittle, or worn, replace this component.
3. Clean the Shower Head
As the showerhead is off anyway, take the time to give it a thorough cleaning, particularly if you’ve been experiencing issues with decreased water flow.
Hard water can cause mineral deposits to build up inside the showerhead, contributing to drips, leaks, or issues with water flow and pressure.
To clean your showerhead:
- Boil three cups of vinegar and some water
- Remove any rubber parts that you can before placing the shower head into the vinegar solution
- Allow it to sit for about a half an hour before removing it
- Scrub it thoroughly (an old toothbrush can be an excellent way to get into little cracks and crevices that may be harbouring debris and build up)
- Rinse completely
4. Add a Thin Layer of Teflon Tape to the Threads
Once you’ve confirmed your O-ring is still in good condition (or replaced it), use Teflon tape to thinly wrap the threads at the tip of the pipe stem. *Don’t overdo it with the tape – you just need enough for a thin layer.*
5. Reattach the Shower Head
Reattach the showerhead by screwing it back on. Whether you do this by hand or with pliers, do not over-tighten it or you could cause a crack in the pipe or showerhead.
6. Turn the Water Back On
Turn the water back on and then run your shower for a few seconds. Turn it off. Wait a few minutes and then check to see if there is still a drip or leak.
How to Fix a Shower Faucet
If repairing the showerhead does not stop the leak, the problem may be the shower faucet. This is likely a result of a worn-out component and can *usually* be fixed without requiring a plumber.
Follow these steps to do it yourself.
1. Shut Off the Water
First, cut the water supply to the shower. Open the faucet to allow the water to drain, keeping a towel handy to soak up any water – you don’t want to accidentally fall due to a slippery surface.
2. Disassemble the Faucet
Determine your style of faucet: one-knob or two-knob. Two-knob styles will require the replacement of both valves.
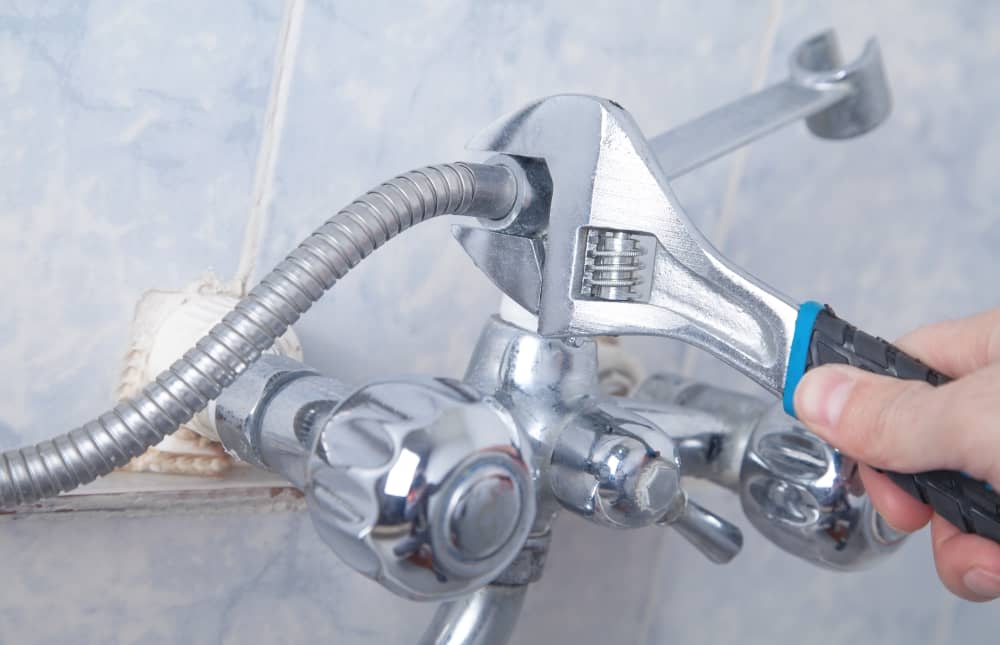
Use a screwdriver and crescent wrench to Unscrew the valves using a crescent wrench or screwdriver and remove the handles or faucet knobs. Set the guard to the side after removing it.
There should be two nuts – you’ll want to unscrew the largest of the two to access the shower stem. Unscrew the shower stem in a counterclockwise motion to remove it.
3. Replace All the Washers
To be safe, replace all of the washers, no matter what condition they are in. You’ll find the rubber washer – known as the seat washer – at the stem’s tail and the packing washers at the centre of the stem.
4. Put the Faucet Back Together
Use an old toothbrush and a vinegar-water solution to thoroughly scrub the pipes before reattaching the shower stem. Next:
- Screw-in the valves
- Reattach the knobs
- Reattach the faucet’s faceplate
- Use caulk to seal around where the faceplate meets the shower
How to Replace a Shower Faucet
Have you fixed the showerhead and repaired the faucet without any luck? Then it may be time to replace the shower faucet.
Although this fix isn’t impossible for a homeowner to tackle themselves, it is more intensive than repairing the showerhead or faucet.
We highly recommend hiring a licensed plumber to replace a shower faucet as this job is more time and labour-intensive. However, here is a general guide to replacing commonly used faucets (be sure to follow the manufacturer’s instructions to guarantee proper installation).
If you know your home has older pipes, we particularly recommend hiring a licensed plumber for repairs. Corroded pipes can easily shift or break during repairs, causing water to leak behind the walls and leave you stuck with an even worse problem.
1. Select Your Replacement Shower Faucet
You’ll quickly find that shower faucet come in an almost endless range of sizes and styles.
However, not all sizes and styles are interchangeable, making it crucial to select a compatible replacement faucet. Measure the holes exactly and bring those measurements along as you search for a replacement shower faucet.
2. Remove the Old Shower Faucet
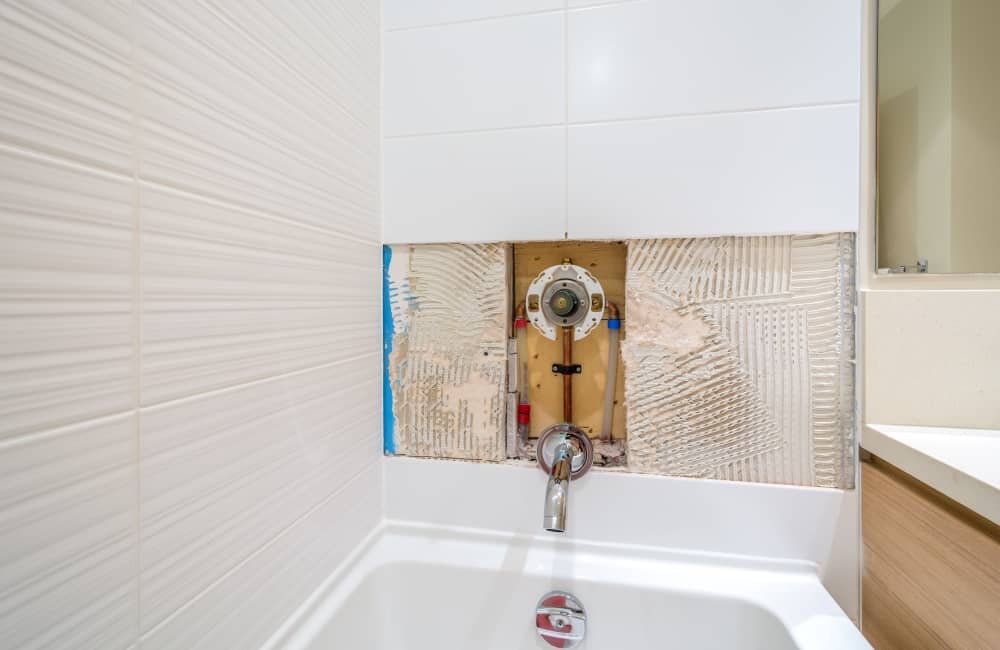
Does your home have an access panel on the opposite wall of the shower faucet? If so, you can easily work on the faucet from there.
If not, you’ll need to cut a hole (approximately 12 inches square) into the opposite wall with a keyhole saw to gain access for removal/installation purposes.
Once you have access, use a pipe wrench to remove the faucet’s base completely from the water pipes. Avoid twisting or turning the pipes.
3. Install the New Shower Faucet
Follow the manufacturer’s instructions to assemble the new faucet, line it up with your shower pipe, and use a pipe wrench to fasten it to the pipe.
4. Turn the Water Back On
Once you’ve completed these steps, it’s time to turn the water back on and hope for the best.
5. Re-install the Access Panel or Repair the Wall
Replace the access panel and you’re done!
No access panel? That means you’ve got a hole in the wall to deal with. Make a wall patch and repaint the wall to cover up your work.
6. Still Leaking?
If you notice your shower faucet is still leaking, double-check that all of the nuts and screws are properly tightened and re-read the manufacturer’s instructions to ensure you followed the directions exactly.
Still, leaking? It might be time to call in a licensed plumber to determine the underlying cause of the problem.
Should I Fix a Leaky Shower Head Myself or Call a Plumber?
If you aren’t sure whether you can tackle your leaky showerhead, we welcome you to reach out to us. We’re happy to help you determine if you may be able to complete a DIY plumbing repair or if the job requires a licensed plumber.
Bottom line? When in doubt, call us. We are dedicated to providing affordable, quality service for all your plumbing needs. No job is too big or too small and we look forward to discussing your plumbing questions and determining how we can help.


